I Was Inspired to DIY My Vajacial — How I Did It & Here’s What Happened
10 Comments

Coco Park
Aug 16, 2018
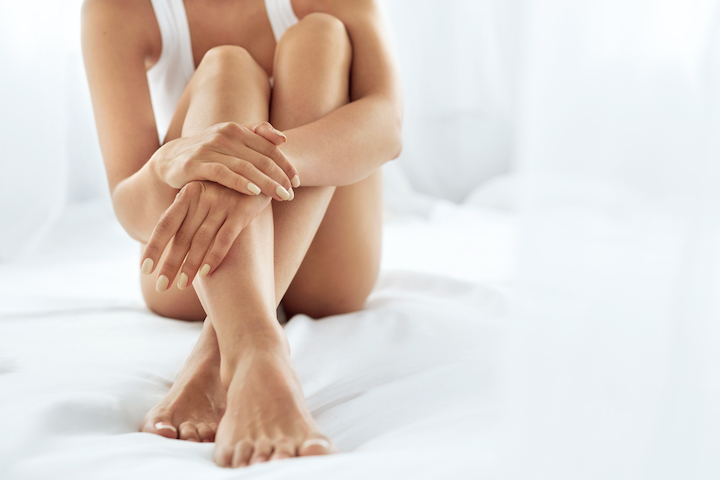
After a less-than-inspiring professional vajacial, contributing editor Coco realized that with her multi-step K-beauty skills, she could do better. Here, how she lavished her lady parts with some fave Korean skincare products — and how it stacked up to the pros.
On one of my daily exploratory walks in my borough, I noticed a new fancy waxing salon had opened. Pretty ho-hum in terms of exciting neighborhood additions, until I walked a little closer and saw a sign advertising the wonders of "vajacials." OK, you got me, tell me more. I moseyed on in and inquired about said vajacials, which as you've probably guessed by now are facials for your special lady area. Now, I know we're all having flashbacks to the ridiculous vajazzling craze of the early 2010s, but unlike the unnecessary jewelification of a freshly waxed pubic area, I could see some real potential benefits to this vajacial thing.
I asked the receptionist to tell me more about their vajacial services. She let me know that they recommended that it be done two to three weeks after waxing and that it included ingrown hair maintenance and a six-step process ending in a "V-mask" and moisturizing. V-mask? OK, you've really got me now. Sold! For science, of course. As a longtime waxer and skincare adventurer, this felt like it landed right at the intersection of possibly beneficial and stupid crazy. In short, it was right up my alley.
For some background, I do a Brazilian every six weeks and have for over 15 years. I'm very familiar with the ins and outs of the process and the skin issues that can crop up as a result of waxing, so I'm already very open to this whole vajacial thing. Ingrown hairs, irritated skin, and flaking, all potentially lurking around the corner depending on the conditions of your wax and how you treat the area afterward.
The professional vajacial
My vajacial started out with a scrub of the area, and when I say area I don't just mean the p-zone; they scrub the entire pelvic plane. Once that was done it was wiped down with a heated damp towel that softened the skin for the extraction of ingrowns that came next. Because I already treat that area I didn't have too many to deal with, so they moved onto the first mask, which I'm told was not the "V-mask" but reminded me of one of the many wash-off cream masks I have at home. She then gave the area a working over with a high frequency wand. Now, I love high frequency treatments. So much so that I actually have one at home that I use to treat deep cystic acne, so I'm assuming they are using this to treat deep, under-the-surface ingrown hairs. "I could be doing this myself," I kept thinking.
The more this vajacial was going on, the more I was thinking I could do this at home, which led to some early buyer's remorse for shelling out $50 for this whole debacle. The rest of the procedure was more warm towels and that mysterious V-mask that hooked me into trying this thing in the first place, which upon further investigation was just a very basic kaolin clay mask. The results were nice, my skin was definitely well-treated and refreshed, but was it worth the price? Nope. Feeling $50 poorer but riding high on the feeling of a fresh P Diddy, I started plotting.
Following the crafty inspiration on the heels of my DIY penis facial experiment, I knew we could DIY this, no problem. Better yet, I knew we could DIY it, throw in some tweaks, and spice it up with better products to make it even more beneficial! So I went home and dug in my cabinets and assembled my ultimate DIY home vajacial kit. White wine or soju not required, but definitely welcome. Light some scented candles, put on your chill playlist, and let's get started.
Step 1: The scrub
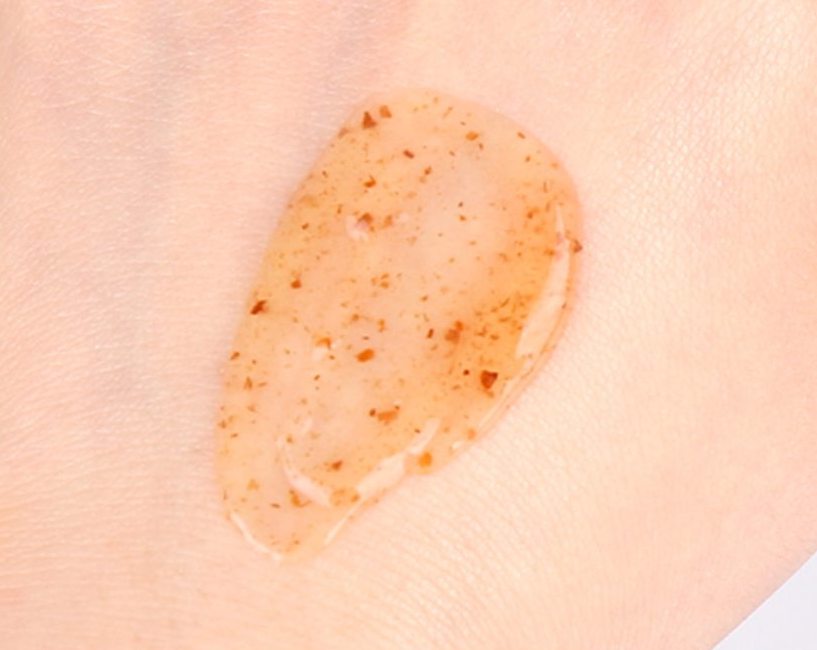
The vajacial I received at the salon was done with their in-house scrub, which was aiiiiiite but nothing special. The goal is to exfoliate, but why stop there? How about we add some macadamia nut oils and ferments into the mix and use Skinfood Black Sugar Perfect Essential Scrub? It also contains shea butter extract, so it's a really good choice if your v-skin is dry (which can happen if your esthetician used a wax that was too hot and mildly scalded the area).

Or maybe you really want to address ingrown hairs? Tia’m Anti-Pollution Salt Facial Scrub is not something I could use on my sensitive facial skin, but for my vajacial it's perfect! It treats and purifies the area while calming with a little green tea extract. The texture is a little thick, so make sure the area is damp if using the Tia’m scrub; maybe keep a spray bottle nearby to emulsify if needed.
Step 2: Extractions
This can be done with a pair of tweezers, of course, but my favorite way to deal with ingrown hairs is preventing them in the first place. Enter COSRX Two in One Poreless Power Liquid. The BHA will help to dissolve the dead skin trapping the hairs in the first place and the tannin will help by acting as a mild astringent keeping bacteria at bay. The BHA in this is gentle enough that you won't have to worry about irritation, but it is runny so apply with a cotton pad soaked in the liquid. I would even go as far as to make a sort of a sheet mask experience out of it by laying the soaked cotton pads strategically around the barren lady gardens area and chilling out for 10 minutes while they do their thing.
Step 3: The first mask
The mask used for my salon vajacial was, like I said, a call-back to a lot of my cream wash-off masks at home. What I wished they had used was my SanDaWha Camellia Flower Antioxidant Cream Mask. What I love about this mask, aside from the heavenly camellia flower extract, is the texture. It's actually a gel-like texture containing bit of said camellia flower. With the gel texture you'll get a mask that will stay put in the nooni zone with no risk of it seeping into the nooks and crannies you don't want to get a mask into! It's also insanely refreshing on the skin, hydrating without being greasy, and an overall treat to any area.
Step 4: High frequency wand
Like I said before, I absolutely love my high frequency wand. There is a variety of them available on Amazon (this one is ranked #1 currently), and they're at a very reasonable and affordable price point. They're advertised as being for anti-wrinkle use, but I get the most benefit from mine when using to treat cystic acne bumps. A few treatments with this and it really helps the cysts GTFO faster. I had never thought of using them on ingrown hairs, but after my vajacial experience I've been using it on the area with great results! I'm going to pretend the $50 I spent on the whole ordeal was an education fee, because now I have a new use for an old, much-loved apparatus. It's like teaching an old dog new tricks!
Step 5: A better V-mask
So the salon's V-mask was just a basic kaolin clay-based mask. Yawn. If I'm going for clay, at least give me the tried-and-true Innisfree Jeju Volcanic Pore Clay Mask version! We already know that stuff is a miracle worker up top; down below it's going to do much the same. What I really want to try for my next at-home vajacial is the Innisfree Jeju Volcanic Color Clay Mask Calming version. First of all, it's a lavender color and I can't think of a more perfect vaginal celebration color, but seriously, it's full of great botanicals like orchid extract and Camellia japonica leaf extract. It's also got panthenol, which is provitamin B5, and nourishing my p-zone sounds like something it deserves.

Step 6: Moisturize
I can't even remember what the moisturizer they used at the salon was like, that's how unremarkable it was. My DIY vajacial ends with a moisturizer that makes much more sense and really knocks it out of the park: Purito Centella Green Level Recovery Cream.
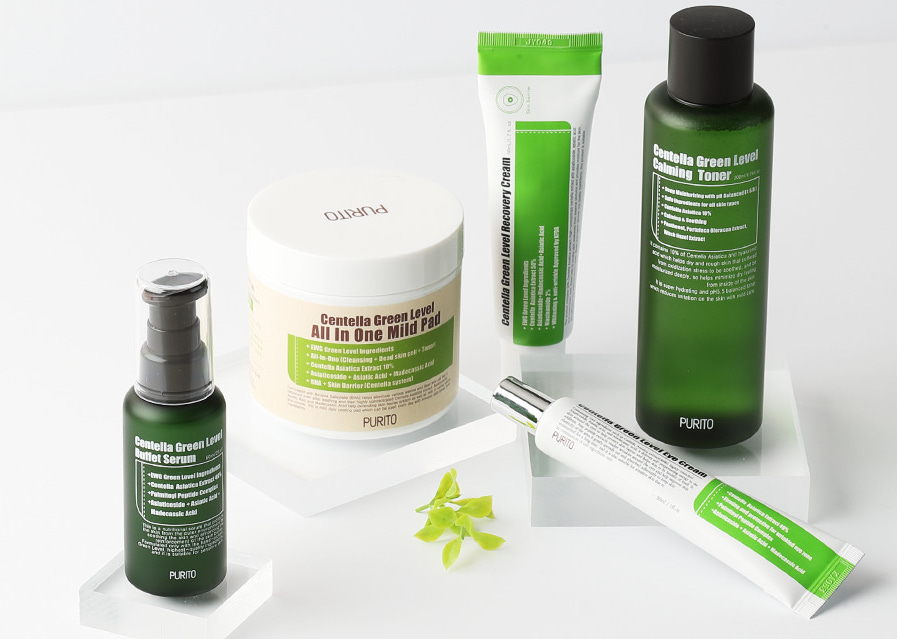
This cream is everything. Like I said about Purito's Sea Buckthorn version of this cream, "it has no business being this good at this price." Seriously, a budget cream never worked so well, and this version does everything we want for such a stressed-out region. It contains 50% Centella asiatica, which is just an absolute powerhouse of calming and recovery for your skin. It also has anti-inflammatory effects, which IDK if you've ever had a Brazilian wax before, but uhh, inflammatory is putting it mildly. It also has a nice light texture because no one wants to walk around with a grease pit in their lacy undies. It's the perfect finisher to a seemingly absurd exercise in self-care that actually has merit. Listen, sometimes the ridiculousness of Late Stage Capitalism inspires beneficial acts. Our much maligned, often shamed and neglected lady bits could use a little TLC!
Look, I get it. Maybe you're not sold on treating your punani playground to a vajacial. Maybe the only V-line you're worried about is the shape of your jawline. But these treatments don't have to be strictly for your nooni area; this would work as specialized care for any area you wax or even shave! A once a month treat to the armpits and legs could also help with the stresses of shaving and waxing. Skin is skin after all, and skin needs love. I'll just be over here also sharing that love with my love zone.
So how do you feel about the idea of a vajacial? Ridiculous or need it now?
Author:
Coco Park
Coco Park is an author, beauty journalist, blogger, podcast host, and all around oddball living in Montreal Quebec with her family. Originally from the southern USA, she worked for several years in the makeup industry as a professional makeup artist and holds a certificate in esthetics. She is a proud member of the Choctaw Nation of Oklahoma. Want to know more? Check her out on the Beauty Beyond Basics podcast, on her blog TheBeautyWolf.com, on Instagram @thebeautywolf, and in her book "Korean Beauty Secrets: A Practical Guide to Cutting-Edge Skincare & Makeup."
Comments
Loading...