How to Master the Silicone Sponge Blender
10 Comments
Ruth Kim
May 28, 2017
At first, I didn’t care for the Silicone Sponge Blender. But now I love it. Here’s what you need to know before you take the plunge with the sponge.
____________________________________________________________________
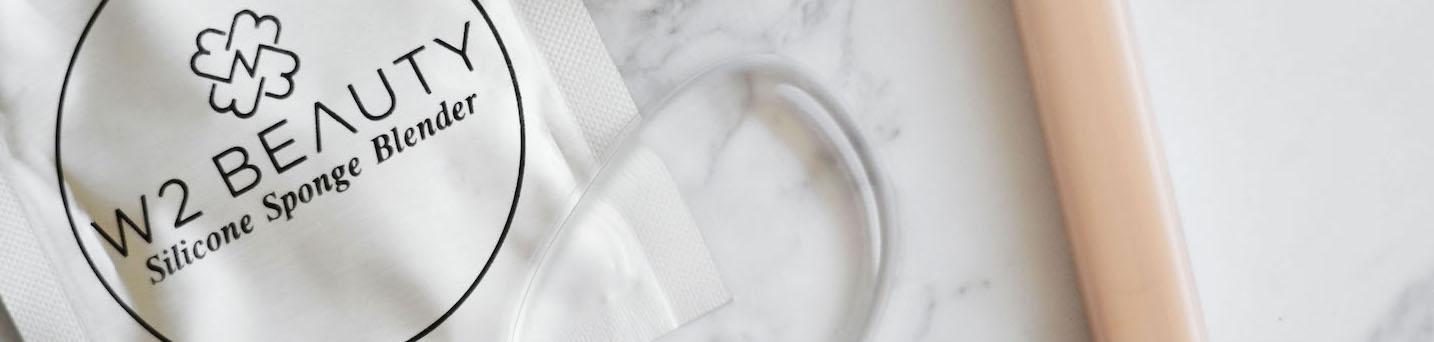
When I first heard about the funny looking foundation applicator made completely out of silicone, I admittedly had my share of doubts. (Sili-huh? And you’re gonna do what with that?) But curiosity and, yes, an undeniable case of #fomo washed over me as I watched some of my favorite beauty YouTubers give rave reviews to variations of the innovative “sponge.” So when W2Beauty released their very own contender — the Silicone Sponge Blender, to be exact — it was my cue to find out for myself what the oddly-shaped, translucent bra insert sponge could do.
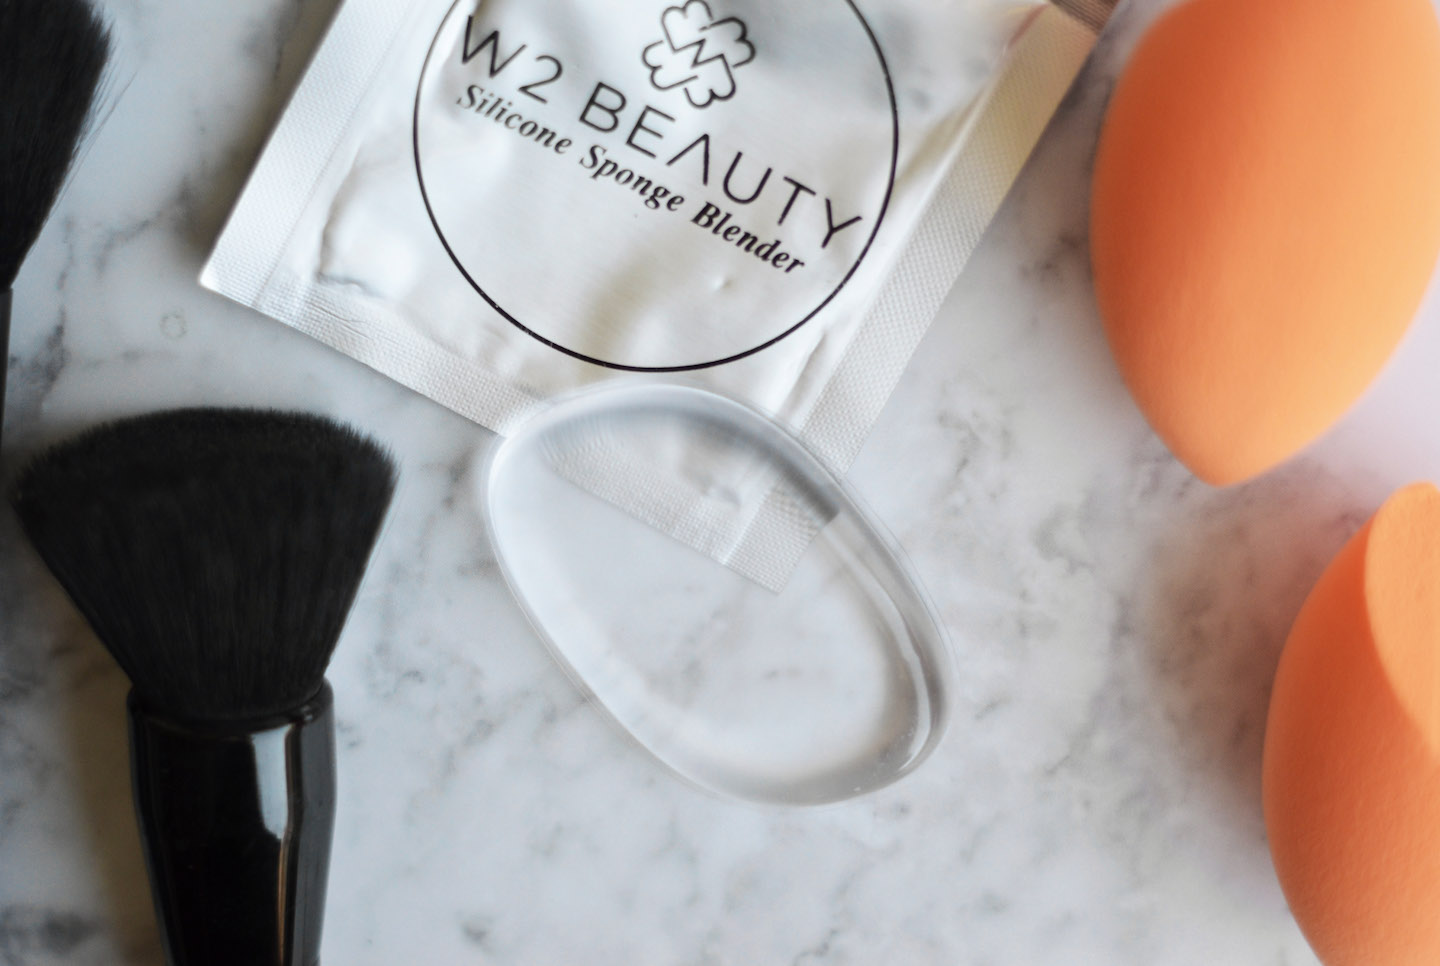
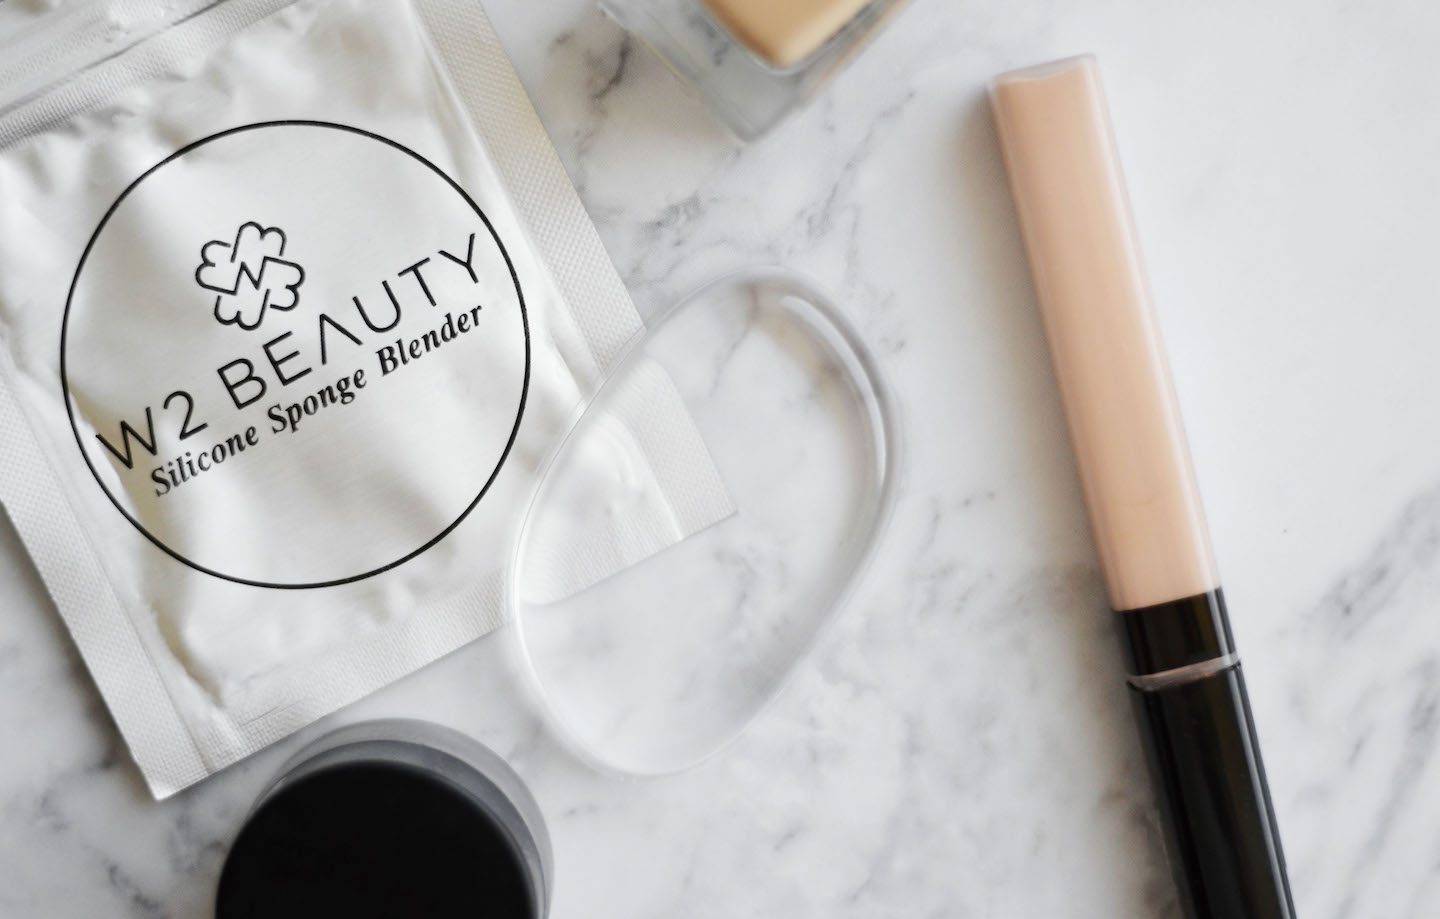
The silicone sponge blender comes cozily packaged inside a sturdy foil bag that’s sealed tight. I unzipped the seal and removed the sponge from the bag, which was wrapped inside another plastic baggie. The sponge is small, about the size of a beauty blender, and maybe around a fourth of an inch thick. It’s non-porous, which means it won’t absorb a drop of your foundation or concealer. The sponge feels sturdy in my hand, and even through the many bends, folds, and cleanings I put it through over a span of a few weeks, the surface of the silicone remained intact and like new after every use and wash.
Let me preface my review with this: it wasn’t love at first touch. In fact, the first time I used the silicone sponge blender, I didn’t care much for it. I fumbled around awkwardly with the sponge, and positioning it in my hand did take some getting used to. (Let’s just say there was some hand-cramping involved). The feeling of using silicone on your face to blend in liquid products just felt plain weird. And most importantly, I didn’t love the way my foundation looked post-application. But for the sake of a thorough evaluation, I kept on. I gave the blender a second and third try, and by the fourth go, I came to an unexpected conclusion: I’m totally swayed by the silicone sponge blender. It just took a little trial-and-error to get there.
So from me (honest beauty novice) to you (prospective silicone sponge owner), here are four tips and pointers on how to get the hang of it on the first try — plus why I think the blender holds its own against the lineup of foundation brushes and various beauty blenders on the market.
Tip 1. Absorption Before Application
First tip: Allow your skincare products, sunscreen, and primers to completely absorb before applying your foundation. While this might sound obvious, it’s a tip that can often be overlooked, especially on mornings when you’re pressed for time. On the first day using the silicone sponge, I layered on my usual skincare products, slathered on my sunscreen, and immediately applied my foundation. The result was a splotchy mishmash of products simply sitting on top of my skin, which then required me to spend extra time blending in the excess. It wouldn’t necessarily be an issue with a foundation brush or a beauty blender, both of which do soak up some product during application. But with a non-porous silicone sponge, allowing your skin some time to “digest” the products will make a huge difference. So in the same way that you might benefit from allowing some time in between each step of your costly skincare routine, I’d recommend waiting a few minutes after applying sunscreen and working in your primer before setting your makeup base.
Tip 2. Less Is More
Although the phrase is often played out, less is indisputably more when it comes to the silicone sponge blender — and you’d be surprised how little product you can get away with. Another factor why my foundation didn’t blend well was because there was simply way too much product, and that was when I had already reduced the amount to half of what I usually ration out. After a little trial and error, I found that I could use closer to a fourth of the product that I was accustomed to. Plus, I always had the option of building up the product if I wanted more coverage.
Tip 3. Learn the Mechanics
There are various ways you can use the sponge (and literal sidebar: You can use either side of the sponge to apply your base). I’ve seen people dole out foundation directly onto the skin first, using the silicone sponge to smear the product over their face; others have squeezed entire pumps of foundation directly onto the sponge and proceeded to distribute all over to blend. For me, I found that applying just a smidgen of product onto the blender at a time and dabbing it quickly, in small motions, worked the most effectively to create an even canvas without splotching.
One of the main drawbacks that I’ve noticed across the board — in my own experiences and from YouTube reviews — is that the shape and make of the sponge doesn’t lend itself to perform well in crevices and on curved surfaces (aka around and on the nose), as well as with concealer under the eyes. Although you can fold the sponge in half to better access those spots, it was still difficult to manage. I worked around this issue by using the sponge to do most of the application, and then going in with my fingers to fully blend in the product. A minor disadvantage, yes — but it wasn’t a deal breaker for me.
Tip 4. Use With Skin Tints, Foundation, or Cushion Compacts
To test out the full capacity of the blender, I used a wide range of foundations with varying degrees of coverage and finishes: a lightweight, tinted moisturizer (Glossier’s Perfecting Skin Tint); a more medium-to-full coverage foundation (Maybelline’s Fit Me Matte and Poreless); and a classic cushion compact (the Iope Air Cushion Flawless). The silicone sponge produced great results with all three formulas. Particularly, I loved the ease of using the blender in place of the sponge puff for my cushion compact, knowing that I wasn’t wasting the expensive product through sponge absorption.
Final Pros and Cons
As with any makeup product or tool, there’s bound to be a list of pros and cons. Take your traditional brushes or sponge blenders, for example. While most beauty blenders provide effortless blending and great coverage, the spongey array of ovals, rhombi, and other sundry shapes do soak up a decent amount of your products — and who knows how much is really purged during cleansing?
With W2Beauty’s Silicone Sponge Blender, you get a more hygienic, long-lasting product, (assuming you don’t accidentally pierce or cut the sponge with a sharp object). The only negative that I experienced (of course, after my initial hiccup) was the previously mentioned issue of blending concealer and foundation into crevices and tight corners. The mechanics of the sponge also took some getting used to.
On the other end of the spectrum, there seems to be a good deal of upside for the little sponge. For an obvious starter, its impermeable form doesn’t soak up and waste any product (and if you’re extra economical, you can even use the sponge to smooth on your costly moisturizers or night creams). Washing it is a breeze: Simply rinse under cold or lukewarm water with mild soap, rinse, and let dry. Plus, if you’re into the trending look, the silicone blender leaves a glowing, semi-dewy finish, which can be toned down to your liking with a sweep of your favorite mattifying powder. And not least of all, the sponge sells for just under $5 a pop, almost half the price of some competing brands on the market.
Have you tried the blender sponge? Yay or nay?
Author:
Ruth Kim
Ruth is a 20-something creative with a fixation on black coffee, black boots, and the beautiful black hole that is all things K-beauty. A Southern California native, she loves to share her current skincare favorites and lifestyle inspirations on her Instagram @ruthhlesslyy.
Comments
Loading...