You may have heard of the 7-skin method, but did you know that 7 may not be your magic number? Here, we break down the how-to’s and the exact steps used in Korea, as well as why 5 or even 3 steps may be what works for you.
Seven-skin sounds like it could be a Kurosawa porn parody, but it’s really a simple but genius way to maximize hydration for your skin.
The 7-skin method first took Korea by storm when actress, model, and former beauty queen Lee Ha Nui, aka Honey Lee, appeared on the popular Korean beauty program, Get It Beauty. She explained her secret to her luminous skin: applying seven layers of toner (or “skin,” as toner is sometimes called in Korea) to her face to moisturize and remove dead skin at the same time. And boom, 7-skin.
(I’m still baffled by the “remove dead skin” part, as there is really nothing exfoliating going on with this technique, but the moisturizing component is top-notch.)
Now, you can’t just use any old toner, so to get started, let me tell you some vital information about how to choose the correct toner or skin for this technique. There are some ingredients you absolutely must avoid.
No-no's for 7-skin
No alcohol
Alcohol applied seven times to your face will dry you out like a mummy, so be sure that your toner is alcohol-free for this.
No BHA or AHA toners
For obvious reasons. We’re trying to soothe and hydrate skin, not irritate the bejeezus out of it.

No thick, syrupy toner or skin
There is such a thing as too much of a good thing, and while extra rich, extra thick is perfect for a man, woman, or cake, in this situation we want lightness. A thick toner applied seven times is going to result in sticky, icky nastiness.
Do's for 7-skin
Now that I’ve told you what you don’t want, let me let you in on what you do want. We’re looking for a watery-type toner that’s very mild. My personal choice for this technique is the SanDaWha Lipsome Skin Softener. It’s watery, mild, comes in at the proper pH, and is packed full of beneficial botanical ingredients. Like, packed packed. Paaacked. Check it out:
Camellia japonica Flower Extract, water, Propanediol (EcoCert, Natural Origin), Pentylene Glycol (EcoCert, Natural Origin), glycerin, sorbitan caprylate, phosphatidylcholine, Camellia japonica seed extract, bisabolol, Magnolia kobus bark extract, levulinic acid, panthenol, xanthan gum, Trehalose, Glycyrrhiza glabra (licorice) root extract, Centella asiatica extract, Camellia sinensis leaf extract, Betaine, Adenosine, arginine, Chamomilla recutita (matricaria) leaf extract, Hizikia fusiforme extract, Thujopsis dolabrata branch extract, Salix alba (willow) bark extract, dipotassium glycyrrhizate, dimethyl sulfone, Opuntia ficus indica fruit extract, Polygonum cuspidatum root extract, Scutellaria baicalensis root extract, Stearyl glycyrrhetinate, Yeast Beta-Glucan, Aloe barbadensis leaf extract, Hyaluronic Acid, Rosmarinus officinalis (rosemary) leaf extract, bioflavonoids Brassica oleracea italic (broccoli) extract, Portulaca olerecea extract, Houttuynia cordata extract, Olea europaea (olive) fruit oil, Citrus unshiu peel extract, Vitis vinifera (grape) skin extract, Pueraria lobata root extract, Glycine soja (soybean) seed extract, Vaccinium angustifolium (blueberry) fruit extract, Pyrus malus (apple) fruit extract, Silybum marianum extract, tocopherol, Rosa canina fruit oil, Lavandula angustifolia oil, lemon peel oil, Rosmarinus officinalis (rosemary) leaf oil, Citrus aurantium bergamia fruit oil
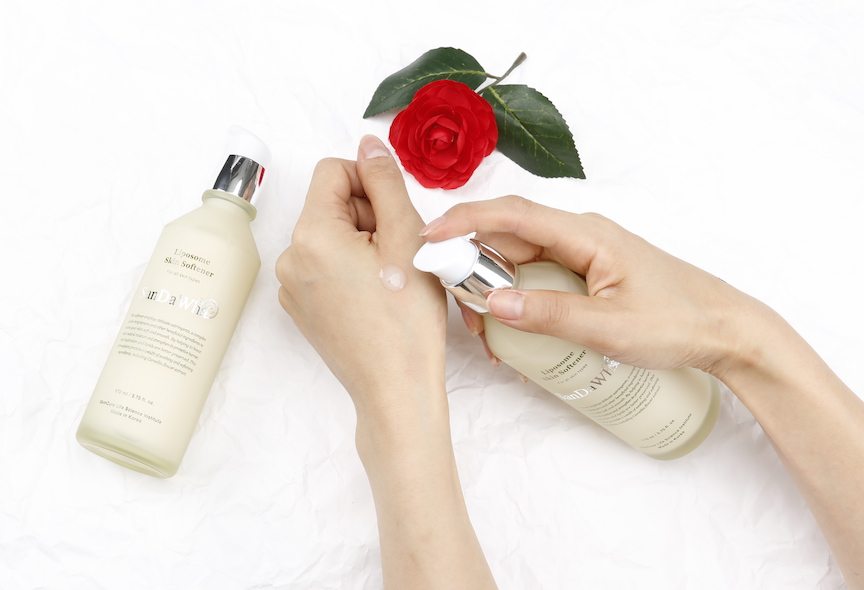
Awww yiss, all over my face, please. You can see why this is my toner of choice, but you can also feel it if you get your hands on it. It’s very watery with just enough thickness to hydrate but not so much that the layers get goopy.
Once you’ve confirmed your chosen toner is free from no-no’s and fit the texture requirements, let’s get down to business.
How to do 7-skin
1. For the first layer, use a high quality cotton pad to apply to the entirety of your face.
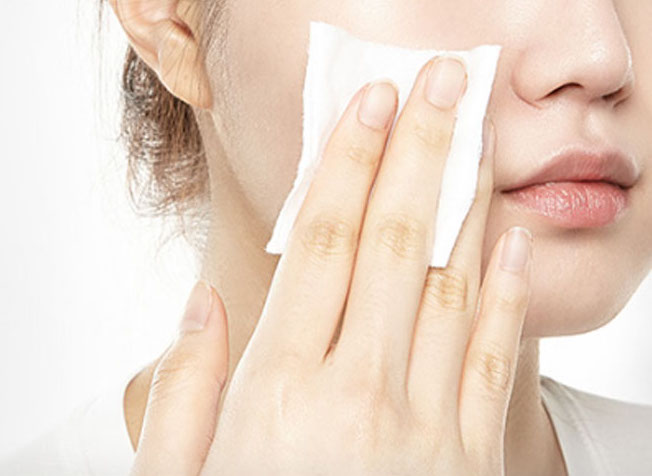
2. For the second layer, put a drop or small squirt onto your palms, and pat onto your face. There is a lot of patting here as you must ensure each layer is absorbed into the skin before moving on to the next.
3. For the third layer, repeat.
4. For the fourth layer, you’re supposed to use the cotton pad again. This is supposedly where the dead skin removal part comes in. I seriously cannot see how this removes any dead skin, but if you want to stay true to the original technique, that’s the way you do it. I can see some benefit in doing this fourth cotton step as it would ensure you’re absorbing any excess product into the pad and “pushing” it into the skin, as it were. (I use the term pushing into the skin loosely as you really can’t puuush things into the skin, but you know).
5-7. For the fifth, sixth, and seventh layer, pat the toner into the skin with your palms, the same as we did for the first two layers. This is to ensure max hydration.
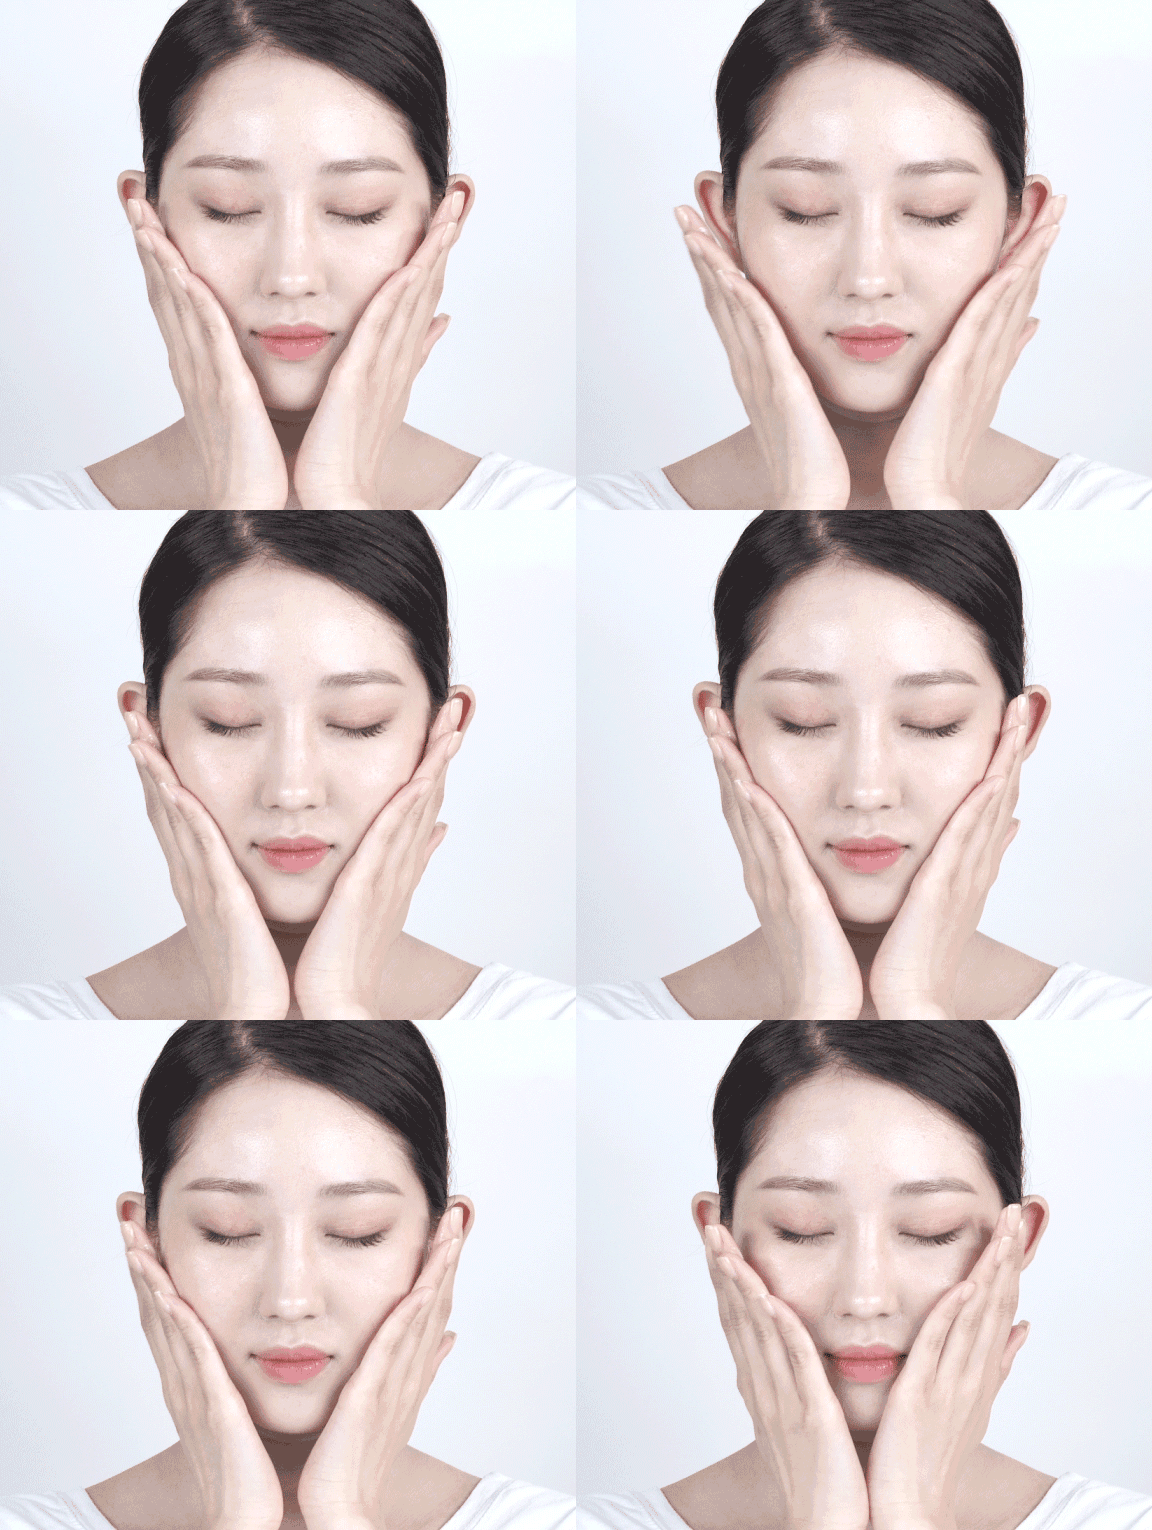
Now, you have the option of stopping at the fifth or sixth layer if you really feel like your skin is good. If you’re dry like me, you’re probably going to want to go for the full seven. If you have oily skin you can stop at the third or fourth step; really, this is up to you.
Sound like crazy overkill? It’s really not. If you sheet mask (and let’s be real: If you’re here, you’re almost certainly part of the sheet mask squad), you already do the same thing. This is just a sped up version of what a sheet mask is doing for you, only we’re using toner instead of essence. You theoretically could do this this technique with a watery essence if you wanted, but that might be cost prohibitive for a lot of us.
Think of this like dressing in layers in the winter. Each layer protects us against the cold, as well as trapping in our own body heat to keep us toasty. We’re doing the same thing, but with hydration! Your skin will have a glowy, dewy, plump look, and your moisture barrier will be happier than it’s ever been.
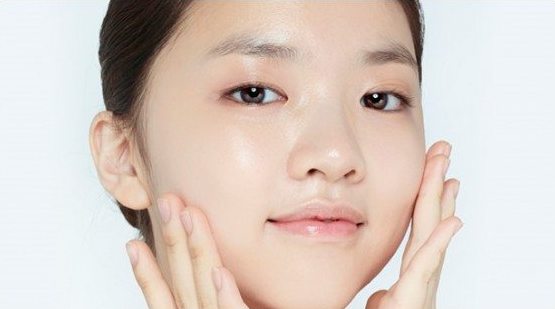
This is a particularly effective technique if you’ve ever come out on the wrong end of an acid or sunburn. I’ve used this on my own skin after a nasty chemical burn, and it sped up healing tremendously. What’s really great is you can try all the different layer number combinations and tweak it to your skins needs. Seven might be what you need or maybe three’s the magic number. (The old-school hip-hop fan in me is so proud of myself for ending this story with a De La Soul reference.)
But seriously, find your magic number! Your skin will thank you for it.
Have you ever tried the 7-skin method? How did it work for you, and what's your magic number?
Loading...