How to DIY Your Manicure So You’re Not Missing Your Acrylics (Too Much)
#Quarantinenails may sound depressing (buh-bye acrylics, crystals, ombre, or any form of professional looking nail look), but you’d be surprised at what you can do at home. Here, a step-by-step guide to getting a ’grammable DIY manicure, even without your beloved nail technician.
This is the epitome of a first world problem, but I miss my nail salon. I miss the way my nails used to click clack against my computer keyboard as I typed. I miss looking at my bright, glittery colored nails as I do my daily tasks. But as a true Sagittarius, there are only a few days of wallowing in self-pity that I can take before I need to get down to business and make stuff happen.
I’ve decided that I’m going to DIY my manicure at home. I’m nowhere near patient enough to attempt to do gels or acrylics, but paint my nails? That I can do. Not only is it a way to immerse myself in a repetitious activity (something that is touted as a sort of brain balm for anxious minds) but at the end of it all, there’s a real tangible result — my nails look good! Which makes me feel good, and I can feel some sort of happiness while the world is so bleak.

So, without further ado, I’d like to present to you my steps for doing your very own, professional level, at-home DIY manicure.
What you need to get started
Before you start anything, make sure you have these tools on hand.
* Cotton pads
* Q-tips/cotton swabs (for cleaning up mistakes … or maybe that’s just me)
* Nail polish remover
* Nail file and nail buffer
* Small plastic bowl and warm water
* Cuticle pusher and cuticle remover
* Nail clipper
* Base coat, nail polish of your choice, top coat (my all-time favorite is Seche Vite)
* Hand scrub and hand lotion
* Cuticle oil
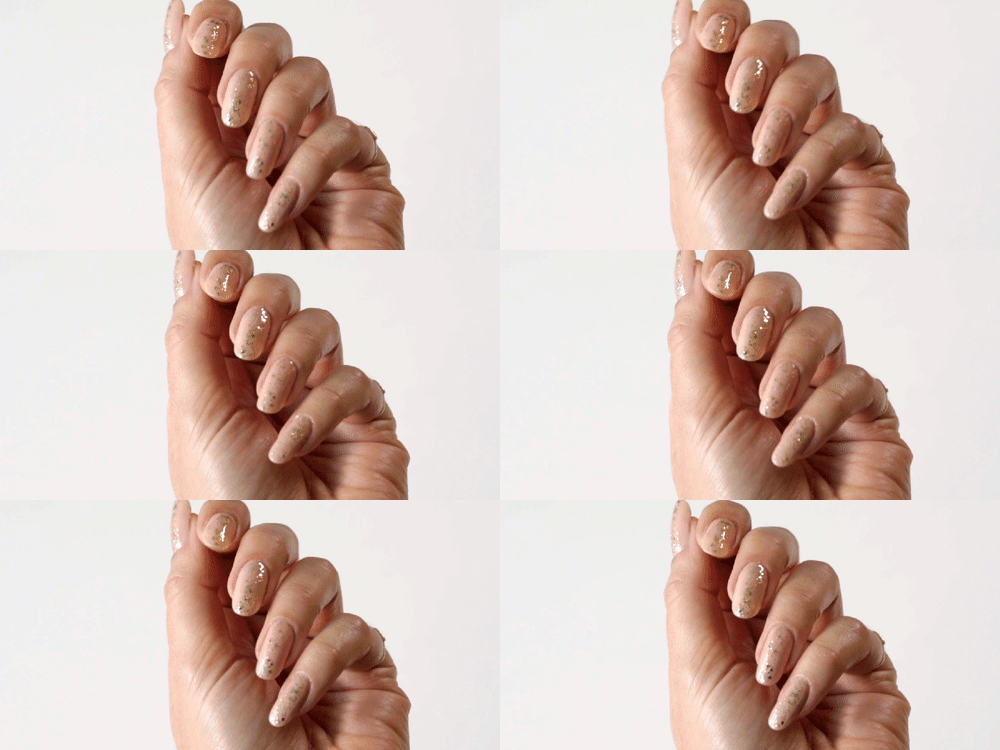
Step 1:
Before I get started, I like to wash my hands and use a scrub so my hands are really soft. I put on a tiny dab of lotion, taking care to avoid my nails. Remember, nail polish + oil do not work well together.
Step 2:
Clean your nails and remove any remnant nail polish with your cotton pads and nail polish remover. This also helps “dry” out your nails so the polish will adhere better (aka it’ll last longer!).
Step 3:
Clip your nails (if needed), and file them using the nail file to your desired shape. Harper’s Bazaar has a great guide to help you choose the one that’ll look best for you. For me? That’s squoval, a mix between square and oval.
Remember! To keep your nails strong and healthy, file in one direction only. Do NOT go back and forth! If you have any rough texture on your nail beds, this is also the time to use your nail buffer to smooth them out.

Step 4:
After your nails are shaped, trimmed, and buffed, it’s time to soak your fingers and nails. Place your hands in the bowl of warm water and let them soak for about three minutes. Before you start this whole process, put on your favorite podcast or audio book. It makes the time go by so much faster!
Step 5:
Get those cuticles together! I’m not a fan of trimming my cuticles because a) I end up cutting myself, or b) they end up super jagged and raggedy, so instead, I like to use a cuticle pusher to gently push my cuticles back. Dab a bit of the cuticle remover on your cuticles to soften the dead skin around your nails, and then use a wooden cuticle pusher to gently push them back. To me, this is the difference between a manicure looking professional versus it looking like my 5-year-old niece painted my nails. Clean cuticles make all the difference!
Step 6:
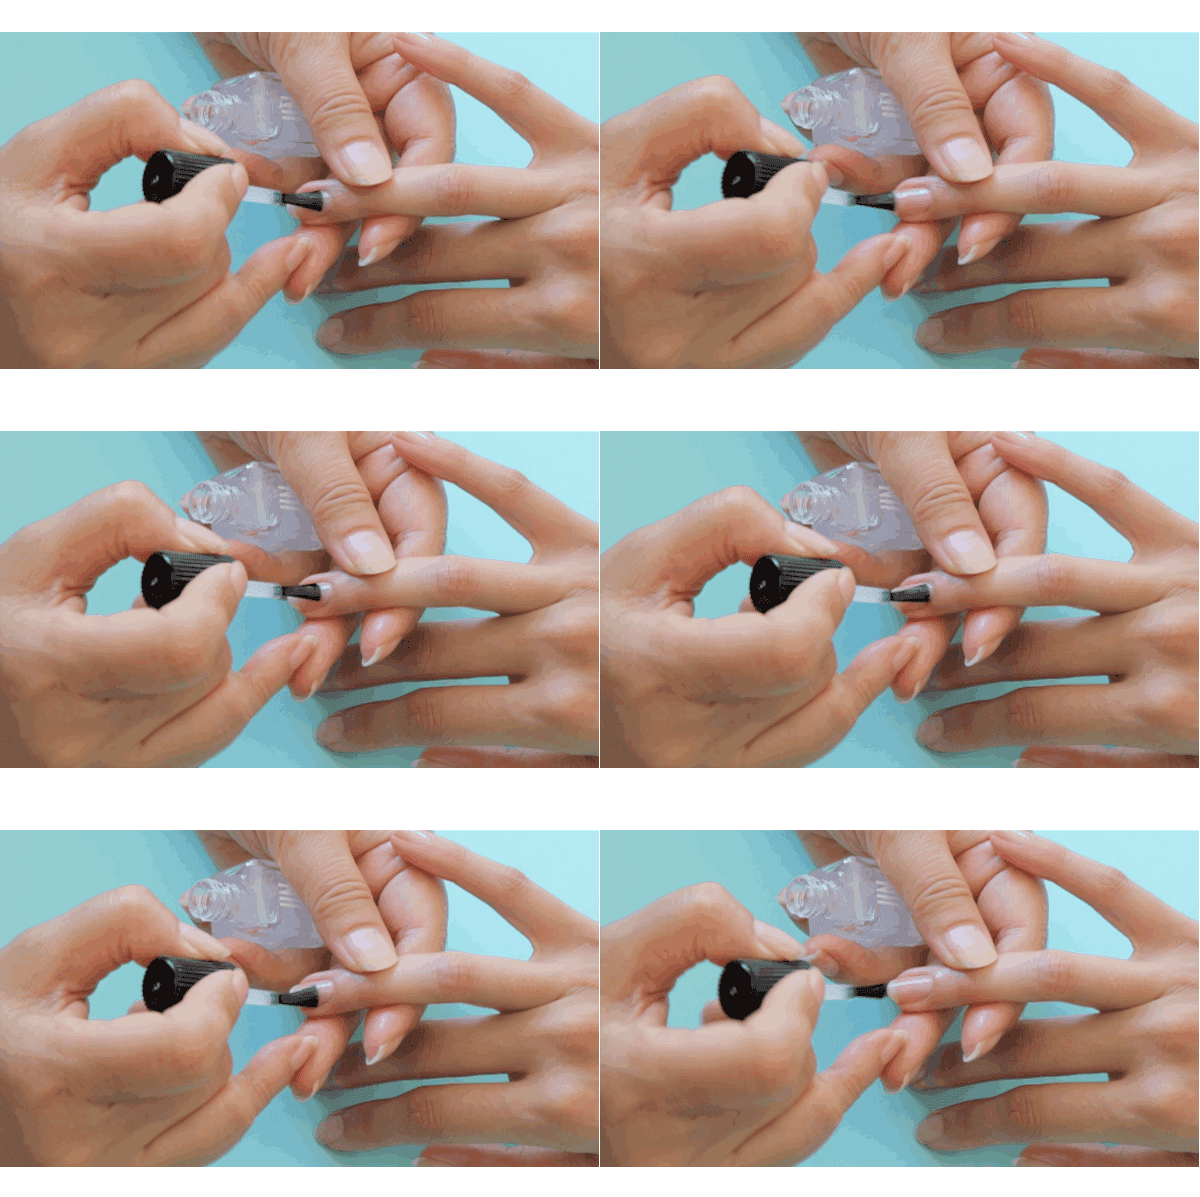
Apply your base coat. A base coat creates a smooth surface for the nail polish to adhere to, prevents staining, and helps your manicure last longer. You only need one thin layer. Allow it to dry for about two to three minutes before moving on to the next step.
Step 7:
Apply your nail polish of choice. The most important thing to remember is to apply thin, even layers, letting each layer dry for about three minutes before applying another. This ensures an even, bubble-free finish. I like to apply two coats of polish, or if it’s a very light shade, then I go in with a third.
[Editor’s note: Now’s the time to experiment with your nail color. Check out #quarantinenails for cool DIY manicure inspiration.]
View this post on Instagram
After your nails have dried for about three minutes, apply one thin layer of your favorite top coat. A top coat will keep your nails shiny and prevent any chipping. If you want to take it a step further, apply a fresh top coat every two days to keep your manicure looking fresh!
Step 8: (optional!)
If you’re all about the bling bling or you love a little oomph to your manicures, think about adding fun nail stickers or glitter. To make my manicures more interesting, I like to do one glitter accent nail on my index fingers. I’m terrible with nail art, but if you’re down to try, check out my article on my favorite nail artists on Instagram to get some inspiration.
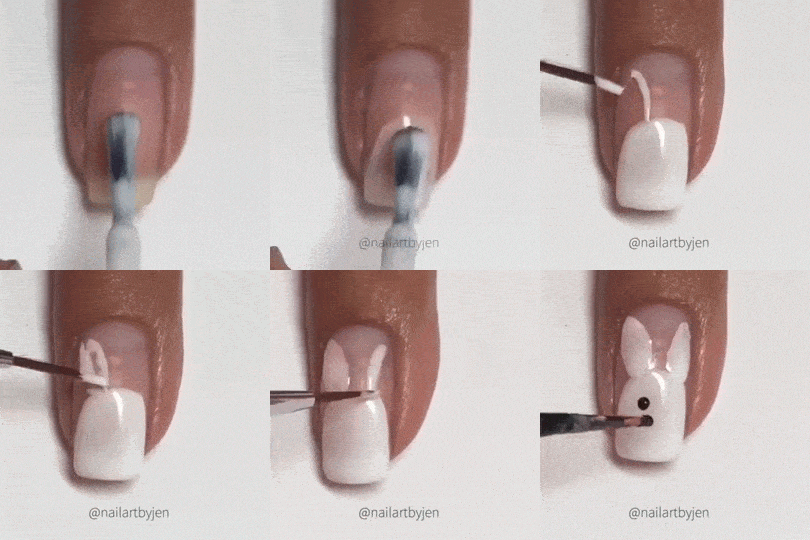
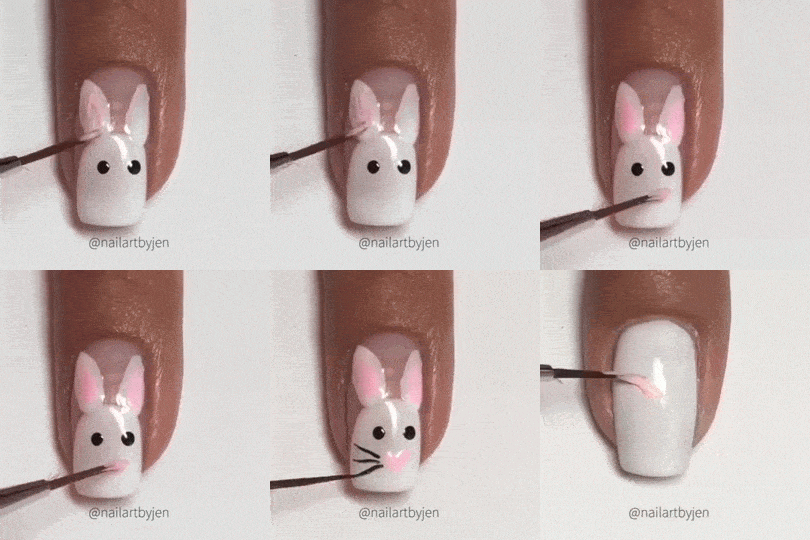
Have you resorted to a DIY manicure now that salons are closed? What do you do to have fun with your nail look?
Loading...