
Giving yourself a non-toxic, salon-worthy manicure is much easier than you think.
Look, I’ve let my manicure game slide since the pandemic. I used to have a weekly drop-in at the nail salon (every two weeks for a pedicure). Now, about the only love I show them is a routine chop when they become unruly.

Not ideal, especially considering “a good manicure should be a non-negotiable part of your beauty routine,” says Dr. Vivian Valenty, founder of Dazzle Dry® - an award-winning collection of non-toxic, vegan nail care. “Overgrown cuticles and ragged proximal nail folds are not only unsightly but could lead to other problems.”

If you, like me, are not quite ready to head to the nail salon, because, well, COVID, or just want to become an at-home pro who can whip up everything from a long-lasting classic mani to something a little more trend based, here are six professional tips to help keep your nails looking stronger and healthier than ever.
1. Clean Your Nails
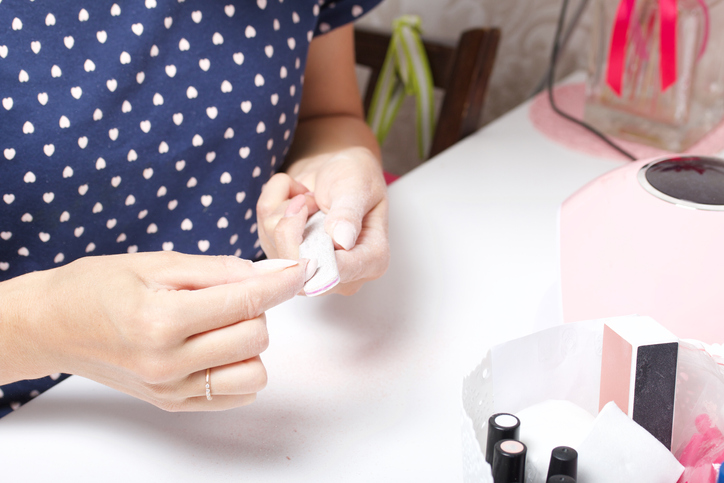
After you’ve washed your hands with soap and water, you want to run over them with an acetone or non-acetone polish remover—whether you have a current color on our not. This not only removes any remnants of old polish, but also any lingering oils or dirt. “Saturate a cotton round and allow it to sit on the nail for a few seconds; then wiggle, wiggle, wiggle and pull,” explains Silva Nahabedian, Dazzle Dry®'s Director of Education. This also “prevents the color from bleeding all over the fingers.”
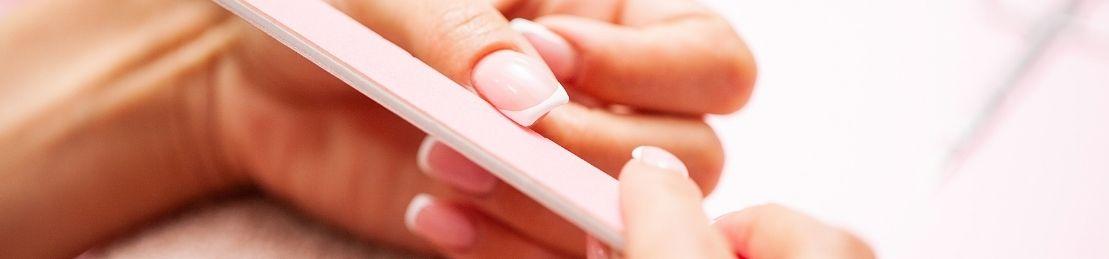
2. Find A File
If you have natural nails, you want to use a file designed for, well, natural nails. Consider a crystal file or a 240/180 grit mild nail file. “The higher the sandy grit on the file, the gentler the file is,” says Nahabedian, noting that anything under 180 is designed for artificial enhancements and can be too aggressive for natural nails. Then she says to either file in one direction or side to center until the desired length and shape are achieved. “Aim to let your shape follow the natural curvature of your cuticle area,” advises Nahabedian. “This helps accentuate the shape of your natural nail and elongate your nail bed, giving the illusion that they are longer.”
A warning: Don’t soak your nails pre filing. When soaked, the natural nail plate expands, and filing while expanded can lead to “separating the layers of keratin, which can cause splitting and peeling nails,” says Nahabedian.
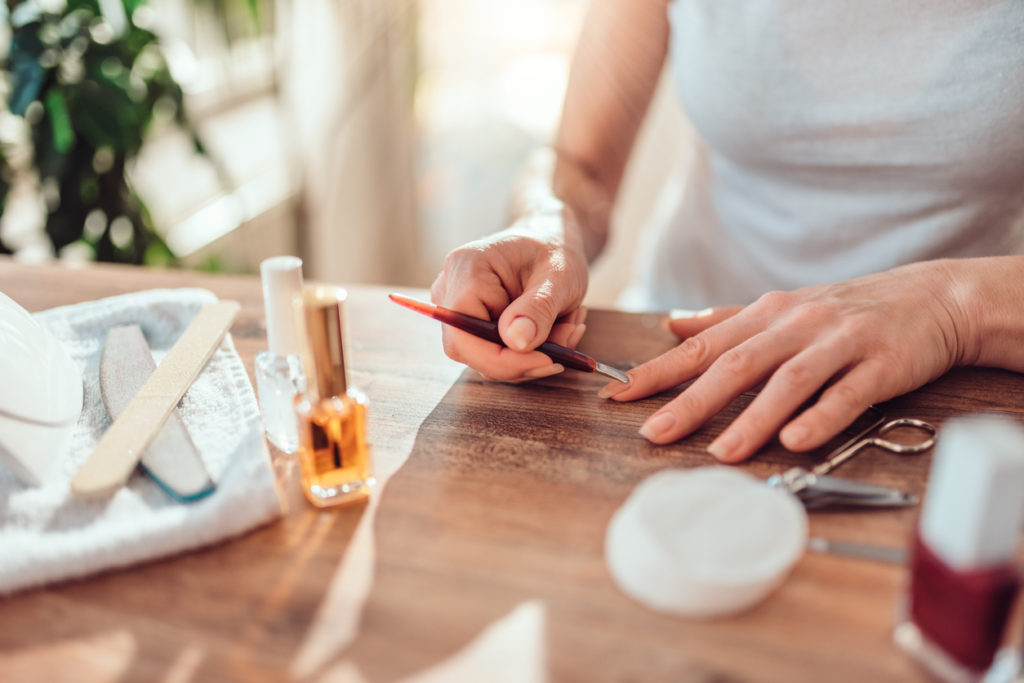
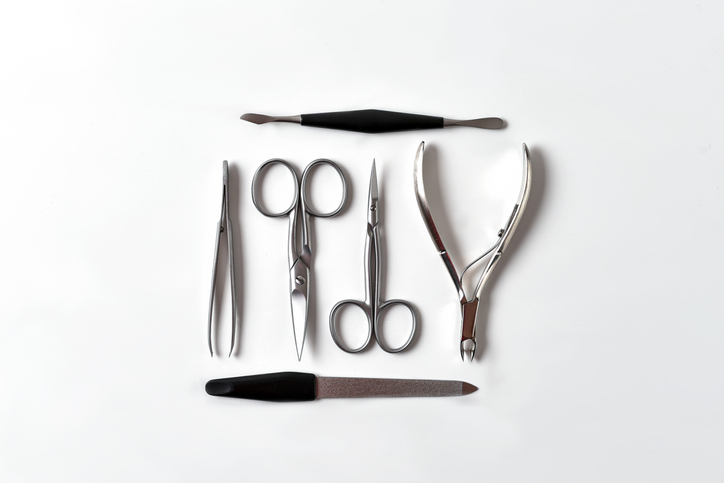
3. Curb Your Cuticles
You do however want to soak nails (about three minutes) in warm soapy water before you get to work on your cuticles. Next, “gently push back cuticles from side to center using a cuticle pusher or an orangewood stick,” explains Nahabedian, which will lift any excess dead cuticle tissue off the nail. The result: a smoother polish application.
Be careful not to be too rough. It can cause permanent damage to the nail root as well as ridges or grooves in the nail. (FYI: Dr. Valenty recommends Dazzle Dry® Transform to hide the deep ridges and create a smooth canvas.) Even more important, not cutting the cord of healthy skin at the base of the nail. “We often refer to it as the cuticle, but it is actually your proximal nail fold,” explains Nahabedian. “This is live tissue. It is a protective barrier that prevents bacteria and microbes from entering the body. Gently nip cuticle tissue that is loose or sticking up but do not over-trim the live tissue.”
4. Buff It Out
Using a 240-grit buffer, gently buff the sides of the nail, around the base of the cuticle, down the center and free edge of nail plate (the white part that grows beyond the tip of your finger). While not an essential step, Nahabedian says buffing will smooth out any imperfections and allow for a flawless polish application.
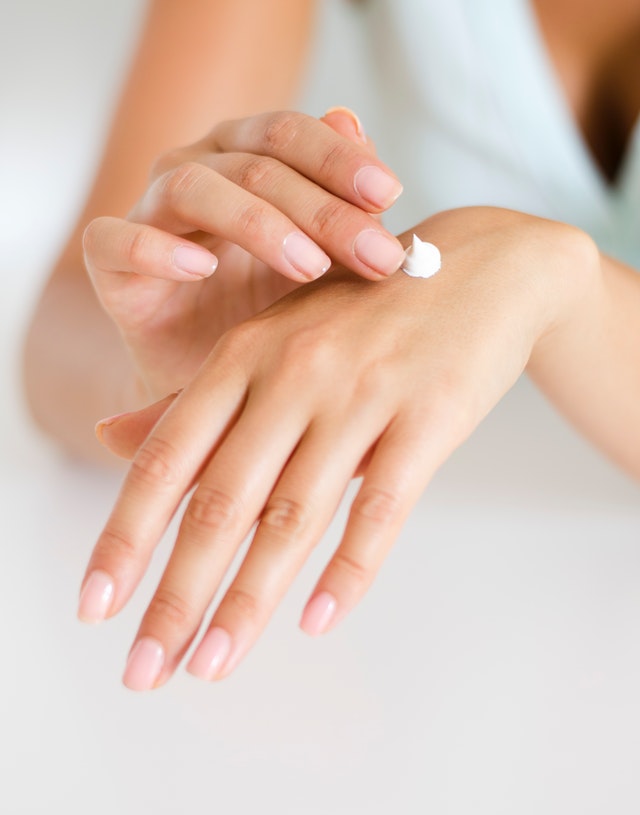
5. Moisturize. Moisturize. Moisturize.
Once you have groomed and buffed the nails, they will be thirsty for moisture, so reach for a nail/cuticle conditioning oil (Nahabedian suggests Dazzle Dry® Maintain Oil). Spread a drop on each nail, rubbing it for roughly eight seconds. “This motion will stimulate blood flow and oxygen to promote healthy growth, keep nails flexible and prevent breakage,” she says. Then give your entire hands some love with a moisturizing hand lotion.
6. Have A Painting Party
First scrub your nails with soap and water to remove oil, lotion, and other contaminants, then start with a base coat, which acts as a double-sided sticky tape to adhere the lacquer to the nail. Nahabedian recommends two coats, making sure to let each layer dry completely before applying the next coat. Next move on to the fun part: the color. Again, you’ll want two coats, making sure each one dries. Be careful not to over brush your polish, “this can disrupt your base coat and cause streaking,” explains Nahabedian. Also “leave a tiny margin between the proximal nail fold and the nail. If you polish up against proximal nail fold, your mani may prematurely chip. Last, top things off with a topcoat to seal in all the layers. Make sure to tidy things up, wiping away any misplaced polish using acetone and an eye liner brush— and voila, perfect at-home mani! (Pssst, to make thing even easier try the Dazzle Dry® four step nail care system. You’re Welcome!)
Loading...